If you ever had to format a USB flash drive to boot your computer from it, you know that you are dedicating an entire drive to just a single .iso or .img file. The burning operation has to be repeated every time a new image is needed, or if you want to use the drive to store files.
Ventoy can be used to format the USB drive once, and then all the .iso and .img files needed can be copied over. You can decide at every restart from which file to boot from.
Installing Ventoy
Grab a spare USB flash drive, plug it to your computer, and empty it.
Download and extract the latest Ventoy archive on your PC.
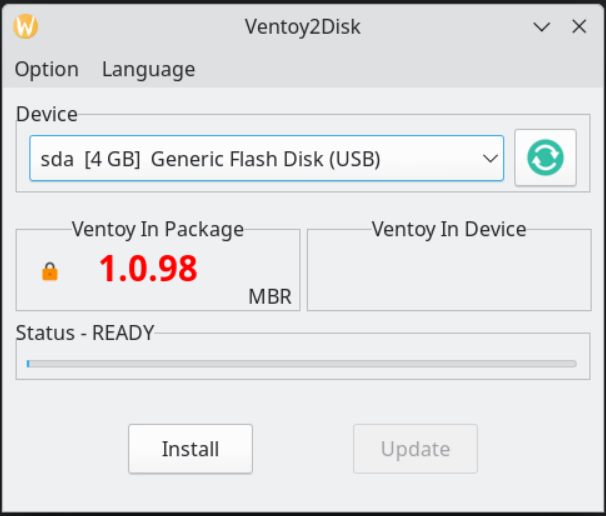
Run Ventoy2Disk and select your USB flash drive, then click “Install”.

You can now download .iso and .img files and copy them to the “Ventoy” partition, as you would do with regular files.
Carrying around Ventoy and GParted Live amd64 .iso saved me many times from fighting with Windows formatting tools.
Enabling persistent storage
By default, the large ExFAT partition where .ISO files are stored is not accessible after boot.
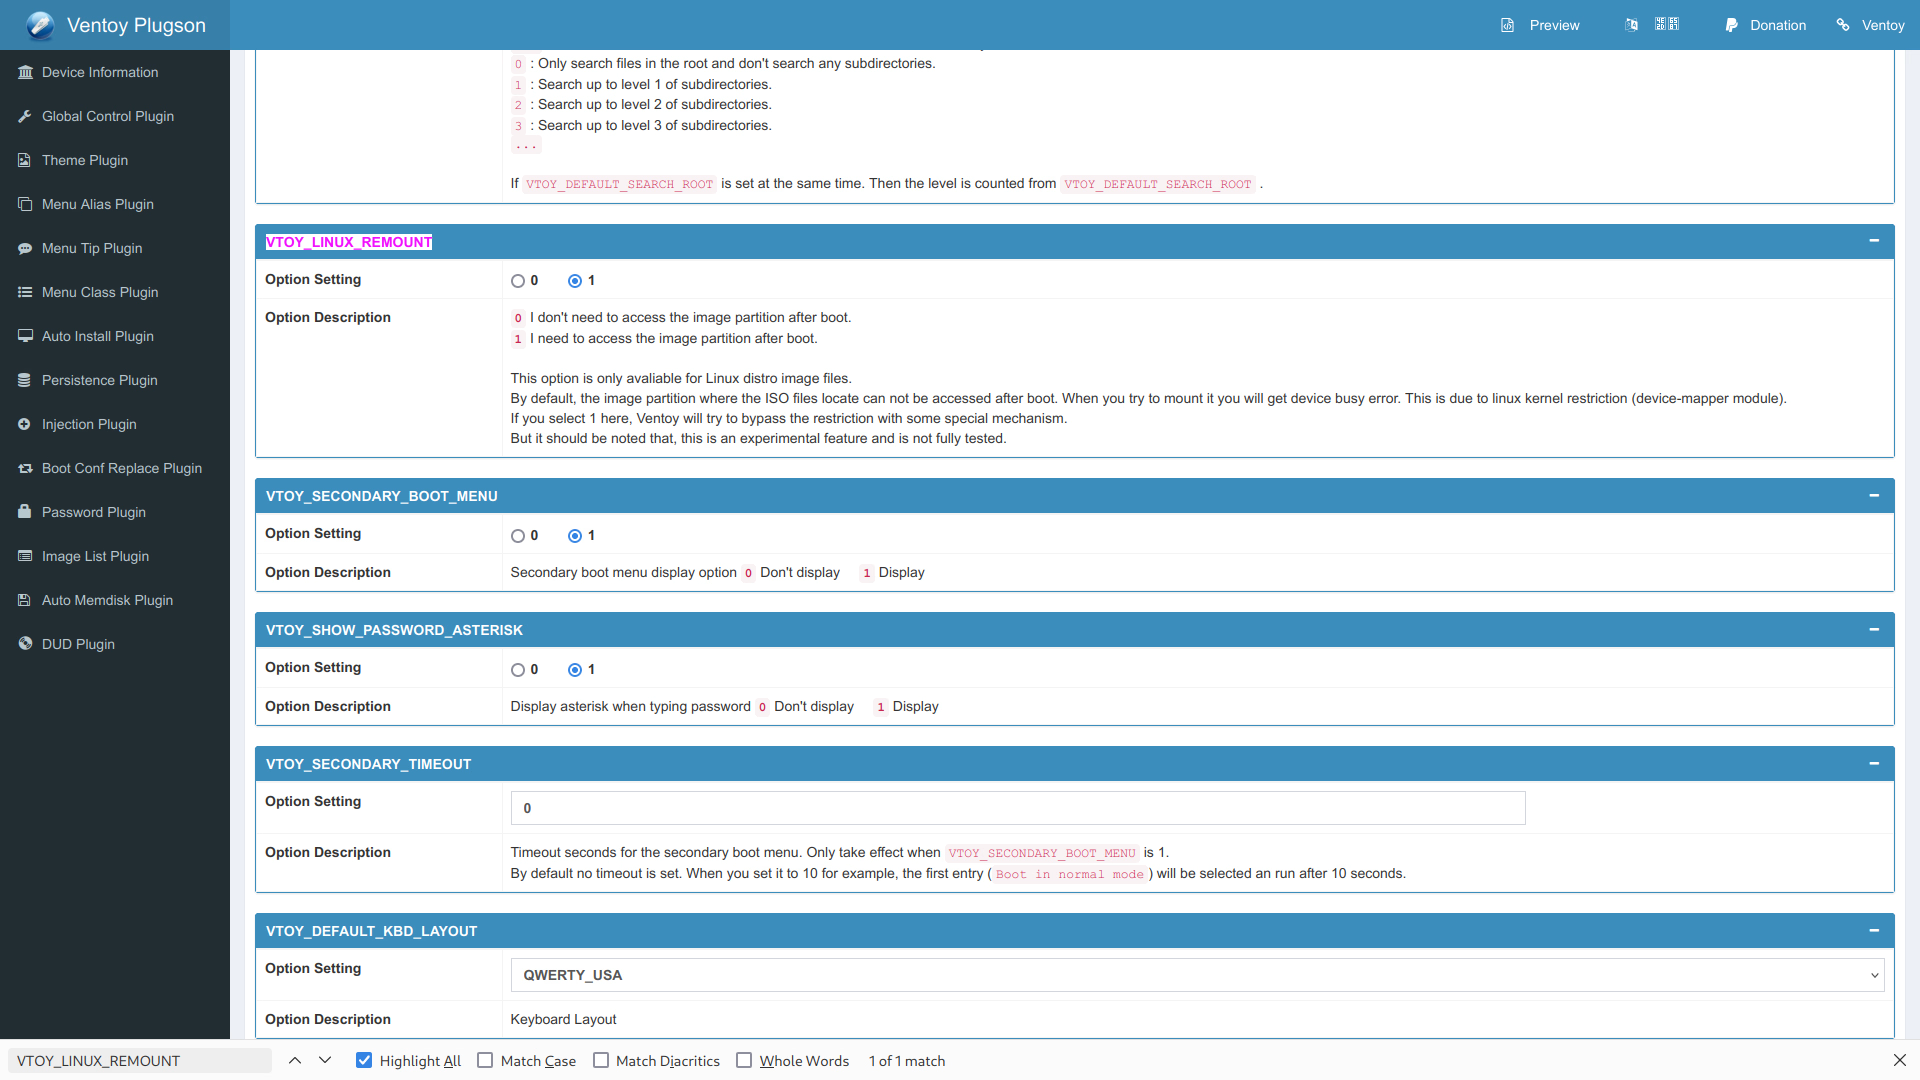
If you need to access or save files from Ventoy sessions, launch VentoyPlugson, navigate to Global Control Plugin and set VTOY_LINUX_REMOUNT to 1:

Booting and choosing the OS
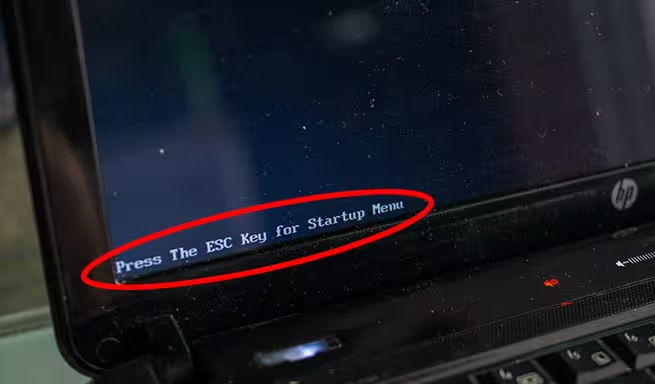
Once done, reboot your computer and press the key to navigate the startup menu and boot from the USB flash drive.

If you get a Secure Boot error, it’s a good sign (it is preventing boot from unauthorized devices). However, you need to temporarily disable Secure Boot from your UEFI settings to boot from Ventoy.
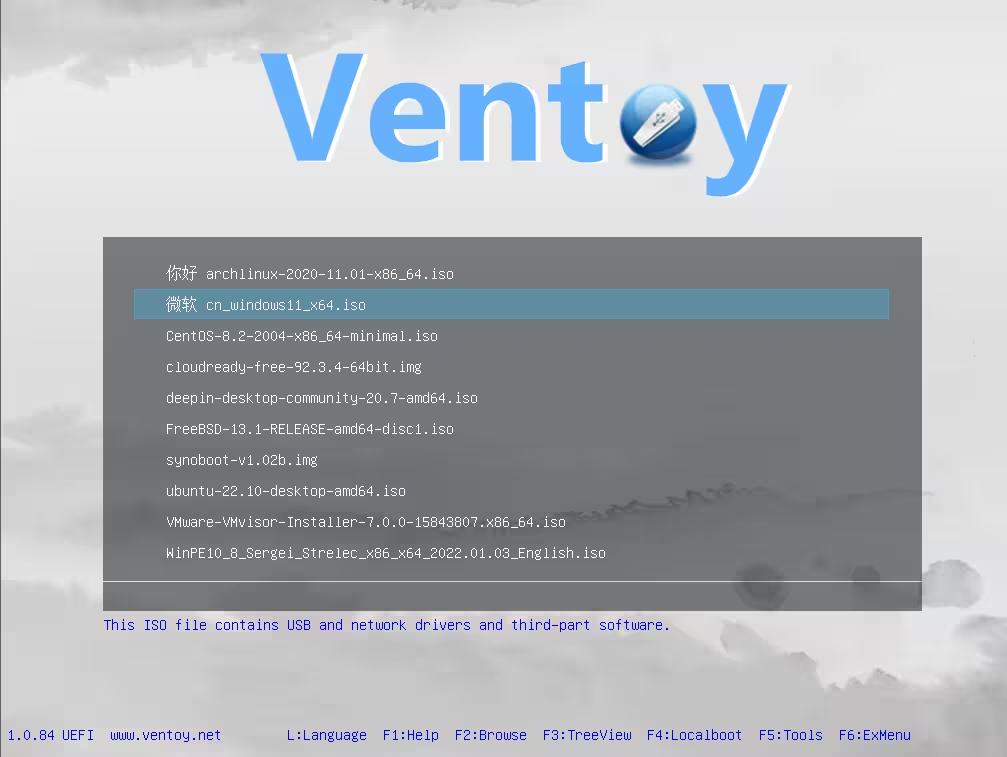
Once booted, you should see a screen like this:

Select your .ISO file to boot from it.
Once done, shut down your PC and remove the Ventoy flash drive before rebooting, to use your computer as before.
Remember to restore enable again Secure Boot from your UEFI settings if you disabled it.
