
Introduction
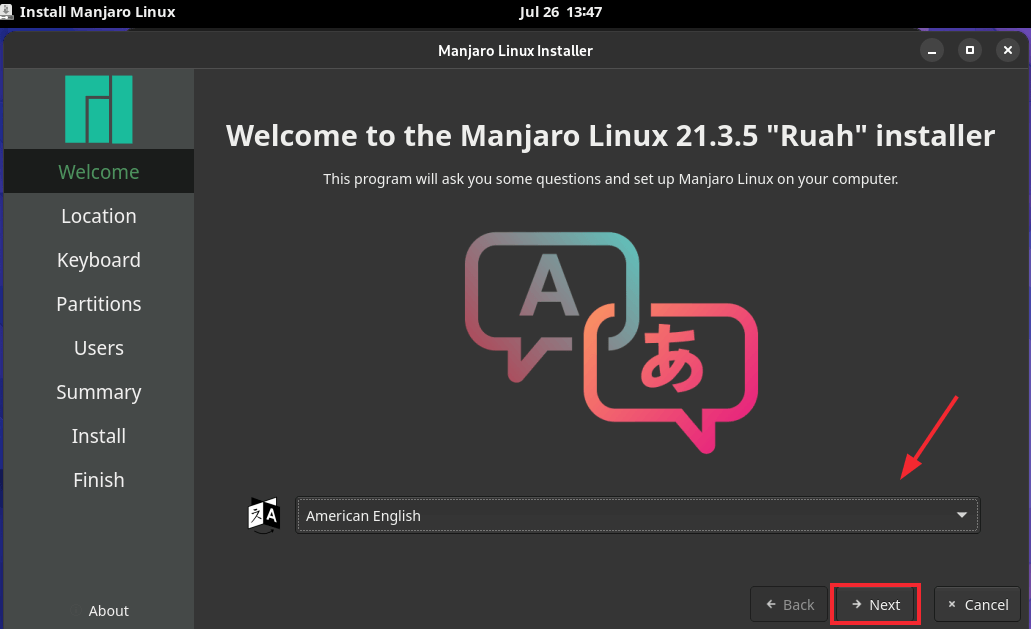
After deciding to replace Windows with a more privacy-friendly OS, and reading about different Linux distributions, I opted for the Plasma version of Manjaro Linux for a few reasons:
- Plasma looks very similar to the Windows UI, but more modern
- It is a rolling release distribution, as Manjaro derives from Arch Linux
- It has a guided graphical installation, unlike Arch Linux
- It has a large community
After two years of familiarizing myself with the Linux ecosystem, terminal commands, and possible customization, I felt ready to remove the middle man that was Manjaro and go straight for Arch Linux.
In this guide, I explain how I installed Arch Linux on my laptop with these features:
- Plasma 6: the Breeze theme is great and consistent everywhere
- Plymouth: the boot process should also look nice
- Wayland: a modern display server alternative to X11
- PipeWire: a modern audio management alternative to PulseAudio and JACK
- LVM: multiple virtual partitions inside a single encrypted partition
- Full-disk encryption: preventing thieves from accessing data
- TPM2 PIN decryption: avoid entering a long passphrase at every boot
- Unified Kernel Image: the system boots from a single file
- Secure Boot: prevent booting from unauthorized drives
Most of these steps can be found in the Arch Wiki, even if they span several pages. I aim to make the process as straightforward as possible, even for a novice.
Requirements
- A modern laptop with an SSD and TPM2
- A spare USB flash drive
- Internet connectivity
- Patience. Lots of it.
Before rebooting
Download the official installation ISO using a BitTorrent client like qBittorrent.
Mount the ISO to a USB flash drive, or copy it to a Ventoy flash drive.
Please make a backup of important files in the SSD, as it will be formatted.
Modifying UEFI settings
Before booting from the installation medium, let’s configure a couple of UEFI settings.
First, ensure you have a UEFI admin password; otherwise, Secure Boot can be disabled by anyone.
Then, enable the Secure Boot setup mode. With this, we can replace the Secure Boot keys later from the OS.
Since instructions vary for each manufacturer, you need to find a guide for your device.
Booting from ArchISO
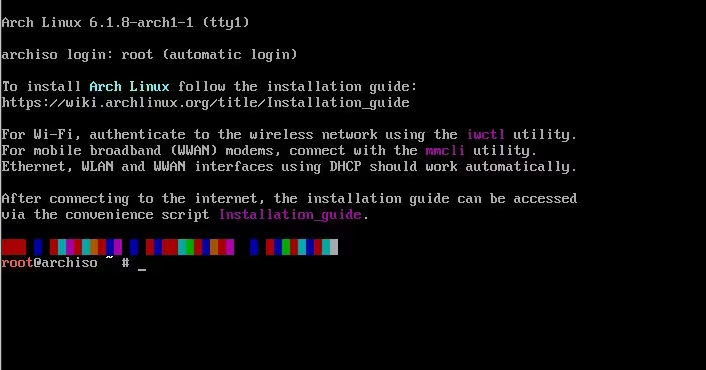
Next, we can plug in the installation drive and boot from the ISO file. After a few seconds, you should see the following command line interface:
First, set the keyboard layout, time zone, and silence the PC speaker:
# load the italian keyboard layout
loadkeys it

# silence the speaker
rmmod pcspkr

# enlarge the font
setfont ter-128b

# set the correct time
timedatectl set-timezone "Europe/Rome"
timedatectl set-ntp true
Wi-Fi setup
If you don’t have an Ethernet cable nearby, set up wi-fi connectivity:
iwctlFrom the iwctl prompt, run device list. You should see the following:
                                   Devices                                   *
--------------------------------------------------------------------------------
 Name                  Address               Powered     Adapter     Mode
--------------------------------------------------------------------------------
 wlan0                 7c:76:35:83:65:43     on          phy0        station
If the device is off, activate it with
device wlan0 set-property Powered onThen, connect to your network and exit iwctl:
station wlan0 connect "My SSID"
exit
From the shell prompt, check for connectivity:
ping -c 3 archlinux.orgPreparing the SSD
Now we will format and organize the disk into several partitions. We will then initialize the OS and chroot into it.
Ideal sector size
For optimal performance, set the ideal sector size of the SSD.
For SATA
Check the available sector sizes:hdparm -I /dev/sda | grep 'Sector size:' Logical Sector size: 512 bytes
Physical Sector size: 4096 bytesIf sector size 4096 is suppoted, select it and confirm the change:
hdparm --set-sector-size 4096 --please-destroy-my-drive /dev/sda
hdparm -I /dev/sda | grep 'Sector size:'
Logical Sector size: 4096 bytes
Physical Sector size: 4096 bytesFor NVMe
Check the performance of different LBA sizes:nvme id-ns -H /dev/nvme0n1 | grep "Relative Performance"LBA Format 0 : Metadata Size: 0 bytes - Data Size: 512 bytes - Relative Performance: 0x2 Good (in use)
LBA Format 1 : Metadata Size: 0 bytes - Data Size: 4096 bytes - Relative Performance: 0x1 BetterSelect the best LBA format (1 in this case) and confirm the change:
nvme format --lbaf=1 /dev/nvme0n1
nvme id-ns -H /dev/nvme0n1 | grep "Relative Performance"
LBA Format 0 : Metadata Size: 0 bytes - Data Size: 512 bytes - Relative Performance: 0x2 Good
LBA Format 1 : Metadata Size: 0 bytes - Data Size: 4096 bytes - Relative Performance: 0x1 Better (in use)From now on, I will assume the SSD is /dev/nvme0n1.
Boot partition
Create a 1GB boot partition to store the bootloader:
# create a new partition table
parted -s /dev/nvme0n1 mklabel gpt

# create a boot partition
parted -s /dev/nvme0n1 mkpart "ESP" fat32 1MiB 1025MiB

# make the partition bootable
parted -s /dev/nvme0n1 set 1 esp on
Encrypted root partition
Create a large OS partition, and encrypt it using a strong passphrase when prompted:
# create a linux partition with the remaining space
parted -s /dev/nvme0n1 mkpart "OS" ext4 1025MiB 100%

# make the new partition a LUKS volume
cryptsetup luksFormat /dev/nvme0n1p2 \
 --cipher aes-xts-plain64 \
 --key-size 512 \
 --hash sha512 \
 --pbkdf argon2id \
 --pbkdf-memory 1048576 \
 --pbkdf-parallel 4 \
 --iter-time 5000 \
 --sector-size 4096
Why these encryption options?
AES-XTS is the fastest cipher, you can test it by runningcryptsetup benchmark. XTS mode will split the key in half, so specifying a 512 key size means using two AES 256 keys. Argon2ID replaced Argon2I only recently, and we are requiring 1GB of RAM, 4 core and 5 seconds of computational time to make brute-force attacks impractical. The optimal sector size is the one we set before for the SSD.
Decrypt the LUKS volume:
cryptsetup open /dev/nvme0n1p2 "cryptpart"The content of the volume is now available at /dev/mapper/cryptpart.
LVM volumes
In our case, LVM makes it easy to allocate virtual partitions inside an encrypted SSD partition.
Why not use the LUKS volume directly as a single partition?
For me, it’s convenient to keep my files inside a “home” partition that stays separate from the “system” one, as I can repair the system partition without affecting my personal files. But I also lived without LVM for years, so it’s not a necessity.
Using LVM terminology, our decrypted LUKS volume will be used as a “physical volume” (PV). We will add this PV to a “volume group” (VG). Then, we will create different “logical volumes” (LV) that will be allocated to the VG.
# create the physical volume
pvcreate /dev/mapper/cryptpart

# create the volume group and assign the pv to it
vgcreate "os" /dev/mapper/cryptpart

# create a 25 GB logical volume for backup purpose (optional)
lvcreate -L 25GB "os" -n backup

# create a 100 GB logical volume for system files
lvcreate -L 100GB "os" -n root

# create a volume with the remaining space for user files
lvcreate -l 100%FREE "os" -n home
lvreduce -L -256M os/home
You can now check these groups by running:
lvdisplay
lsblk
The output should look like this:
NAME              MAJ:MIN RM   SIZE RO TYPE  MOUNTPOINTS
nvme0n1           259:0    0 465.8G  0 disk
  nvme0n1p1       259:1    0     1G  0 part
  nvme0n1p2       259:2    0 464.8G  0 part
   cryptpart      254:0    0 464.7G  0 crypt
     os-backup    254:1    0    25G  0 lvm
     os-root      254:2    0   200G  0 lvm
     os-home      254:3    0 239.5G  0 lvm
File systems
Now that the logical volumes are in place, we can build the file system for them and for the boot partition:
# logical volumes
mkfs.ext4 /dev/os/backup
mkfs.ext4 /dev/os/root
mkfs.ext4 /dev/os/home

# boot partition
mkfs.fat -F32 /dev/nvme0n1p1
Mounting
The last step is to mount these file systems into folders, so we can place our new OS files inside:
# logical volumes
mount --mkdir /dev/os/root   /mnt
mount --mkdir /dev/os/backup /mnt/backup
mount --mkdir /dev/os/home   /mnt/home
mkdir /mnt/boot

# boot partition
mount --mkdir /dev/nvme0n1p1 /mnt/efi
Chrooting
The new system has its root folder “/” mounted to /mnt.
We can initialize it by installing some packages:
pacstrap "/mnt" base linux linux-firmware "intel-ucode" nano networkmanager jq lvm2If you have an AMD processor, replace intel-ucode with amd-ucode.
Once done, save the current disk configuration to the root volume:
genfstab -U /mnt >> /mnt/etc/fstabNow, let’s enter the new Arch Linux system as if we booted from it:
arch-chroot /mntCommand line interface
I highly recommend taking some time now to follow the steps I wrote in this post, as it will greatly improve the user experience for the rest of this guide.
In particular, I talk about setting up the correct language and timezone, create users, and get yay, a command line utility to install packages from the AUR.
Graphical user interface
Once the CLI is set up, installing the GUI is a breeze.
Display server
Let’s install some packages needed to run graphical applications:
pacman -S wayland qt6-wayland qt6-virtualkeyboard sddm xorg-xeyes xorg-xwayland xdg-desktop-portal wl-clipboard glfw-waylandSet the default cursor to match the Breeze theme:
nano /usr/share/icons/default/index.themeAnd replace “Awaita” with “Breeze”:
[Icon Theme]
Inherits=Awaita
Inherits=Breeze
Desktop environment
Now we can install the desktop environment (Plasma) and session manager (SDDM):
pacman -S plasma-meta kde-gtk-config sddm xorg-xinit xorg-xhost phonon-qt6-vlc qt6-multimedia-ffmpeg dnsmasq kdenetwork-filesharing usbutilsWe need to configure SDDM to launch Plasma using Wayland:
nano /etc/sddm.conf.d/10-wayland.confCopy the following into the file:
[General]
DisplayServer=wayland
GreeterEnvironment=QT_WAYLAND_SHELL_INTEGRATION=layer-shell

[Wayland]
CompositorCommand=kwin_wayland --drm --no-lockscreen --no-global-shortcuts --inputmethod qtvirtualkeyboard

[Theme]
EnableAvatars=true
DisableAvatarsThreshold=7
Once we apply this configuration, we can start SDDM on each boot:
systemctl enable sddm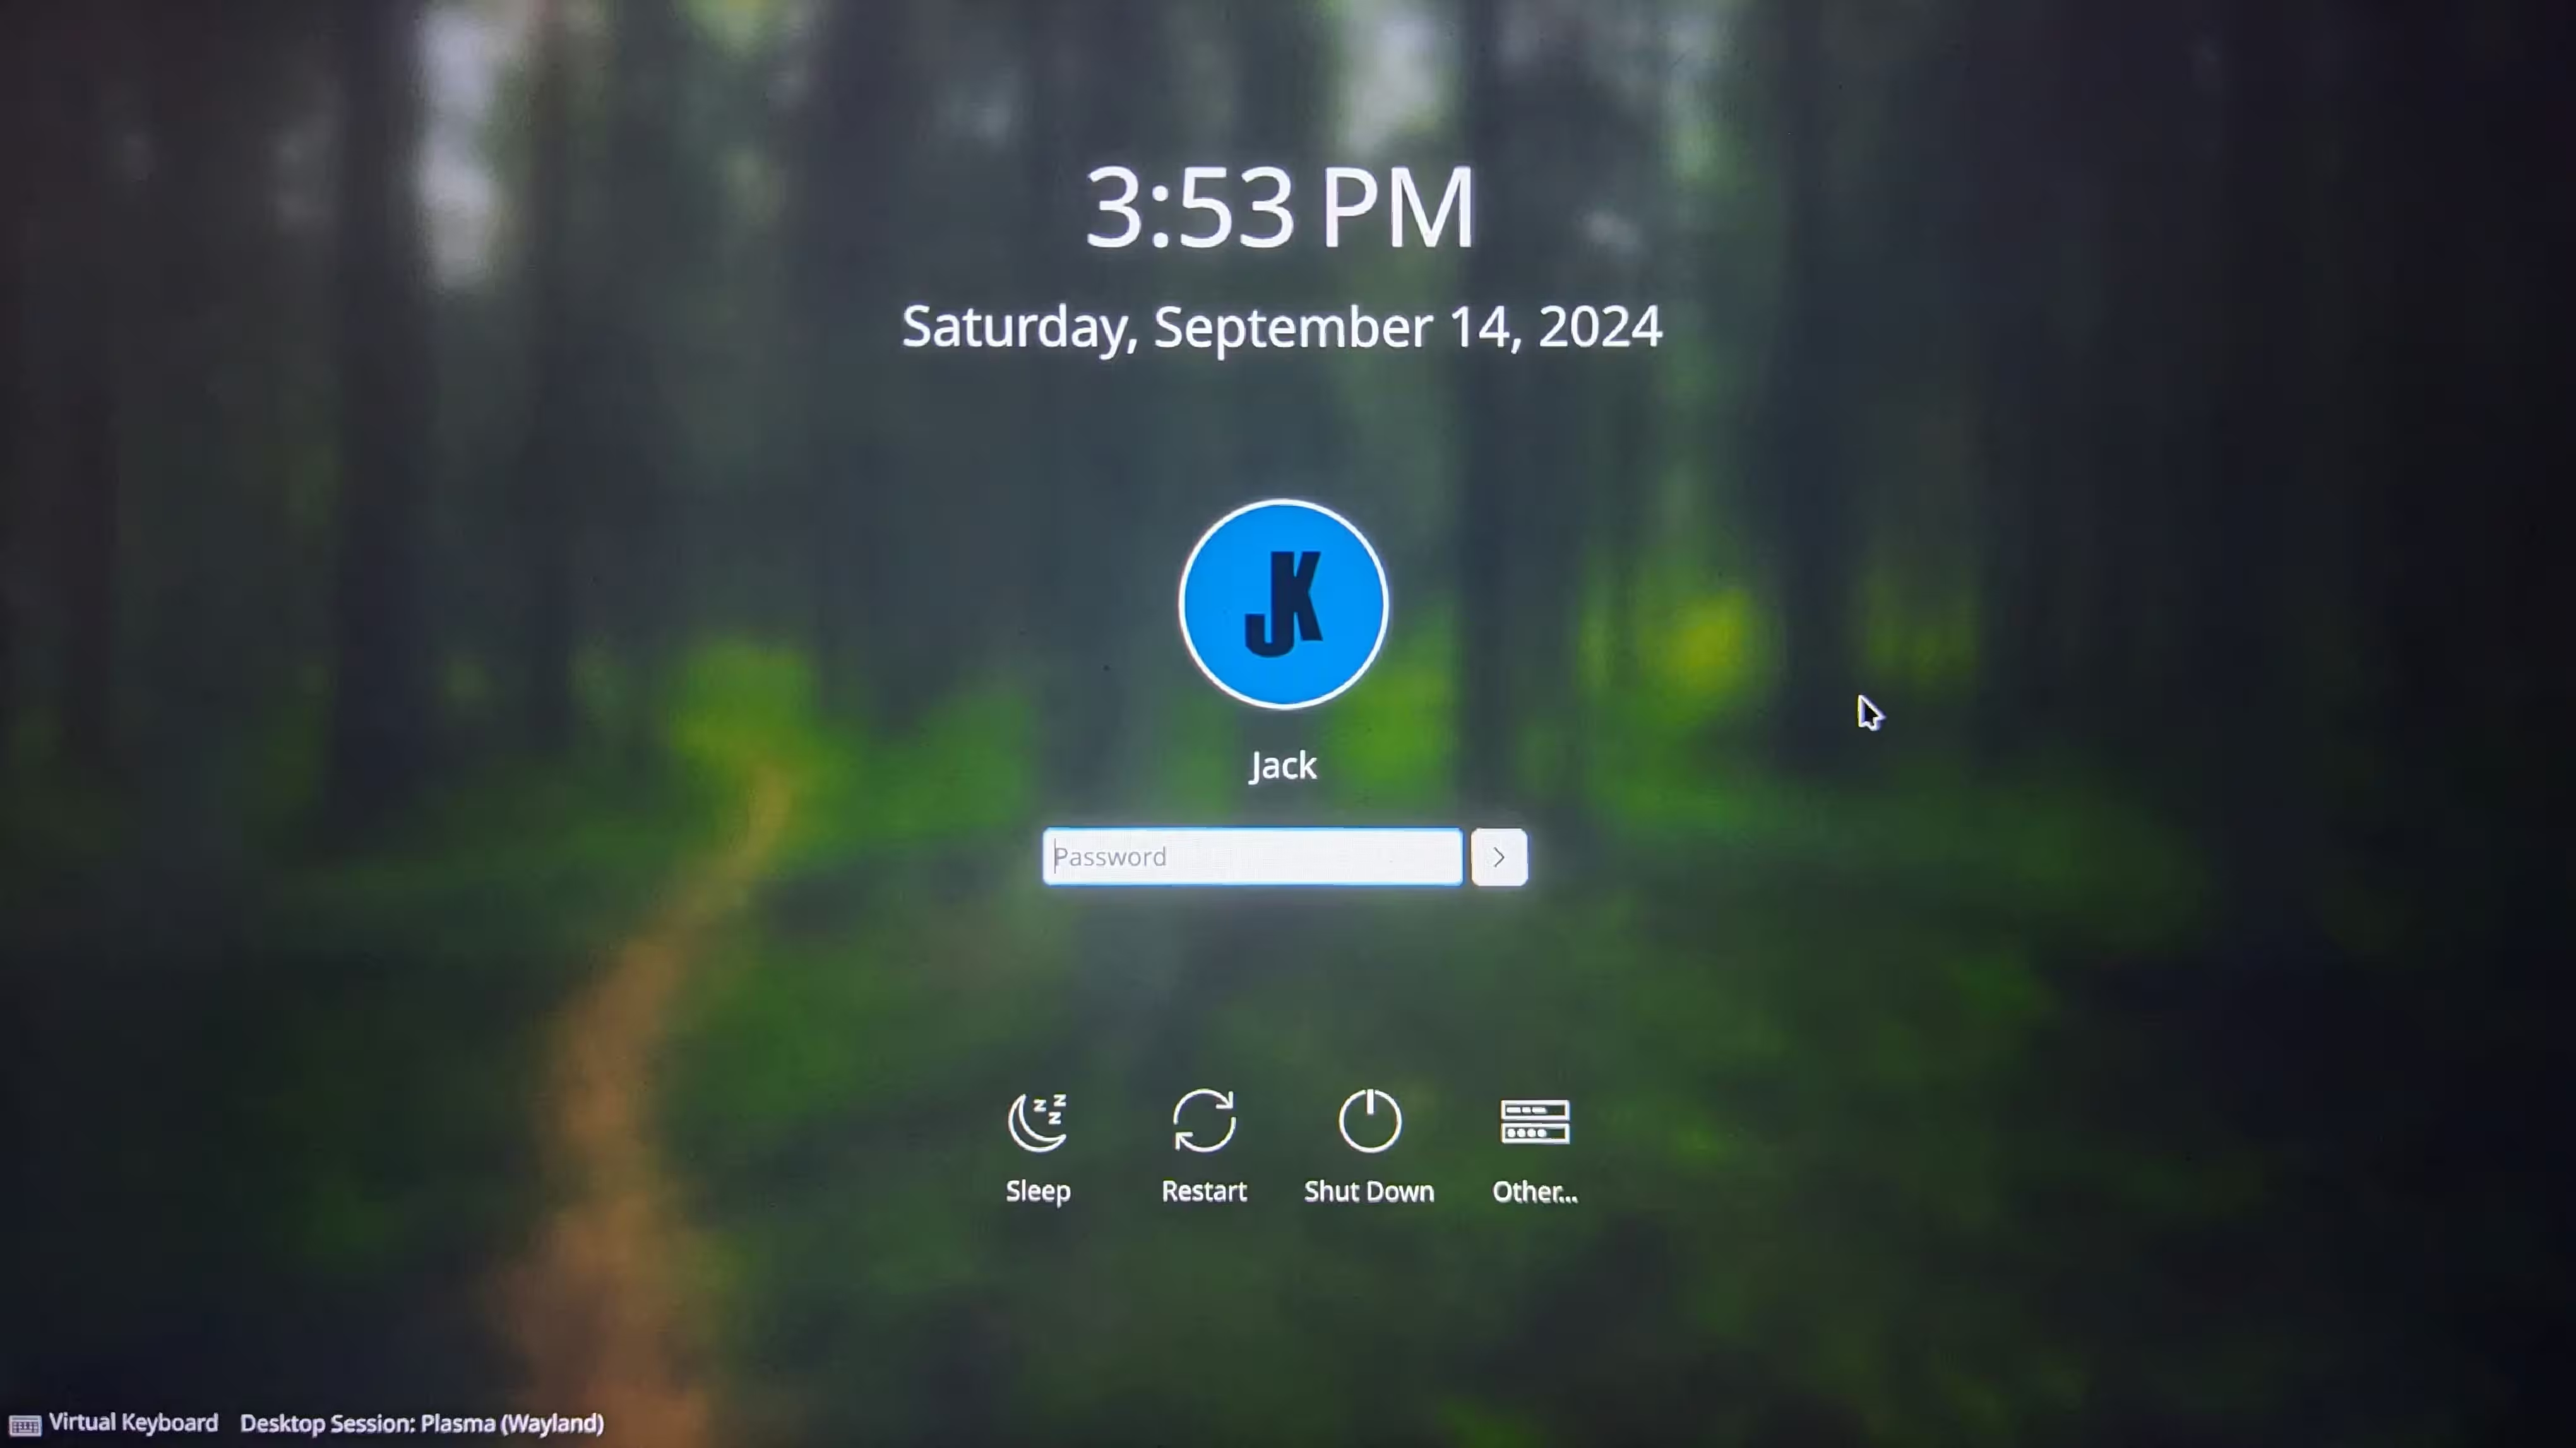
Graphical boot
With the current setup, the boot process would display text in a terminal until we see SDDM’s login screen. By using a Plymouth theme, we can hide this behind a nicer loading screen:

Install Plymouth and set the Breeze theme:
pacman -S plymouth breeze-plymouth
plymouth-set-default-theme breeze
Now that the graphical part is complete, we can tackle the most delicate part: configuring the boot process.
Boot process
There are several components to be configured for the boot process to work smoothly and securely.
The final result will be a single file placed in the unencrypted boot partition, signed with a Secure Boot “db” key. When Secure Boot is on, the laptop can only boot from this file.
Kernel command line
First, we need to configure the Linux kernel to find our root volume and display Plymouth properly.
Run blkid and save the UUID of the encrypted SSD partition, which has type="crypto_LUKS":
/dev/nvme0n1p1: UUID="9EAC-DCD1" BLOCK_SIZE="4096" TYPE="vfat" PARTLABEL="ESP" PARTUUID="ded4c683-b672-45af-9bee-10887c030b71"
/dev/nvme0n1p2: UUID="2e708dd6-61e4-40ec-b30e-ca119d4467e5" TYPE="crypto_LUKS" PARTLABEL="OS" PARTUUID="6e6e282a-4ad7-4c9b-8fff-22f353b9c552"
/dev/mapper/cryptpart: UUID="wWfAjv-lv5u-Mbyo-iAZT-K8He-6nIc-TNGpfP" TYPE="LVM2_member"
/dev/mapper/os-backup: UUID="9c4f9b51-f68e-4d4f-bbd1-f32948ba7018" BLOCK_SIZE="4096" TYPE="ext4"
/dev/mapper/os-home: UUID="c5391d08-7901-4296-bf0a-a7f7c94e44dc" BLOCK_SIZE="4096" TYPE="ext4"
/dev/mapper/os-root: UUID="f52ad892-4f7a-4377-9e70-e6890b553760" BLOCK_SIZE="4096" TYPE="ext4"
Create a file with the kernel parameters:
mkdir -p /etc/cmdline.d
nano /etc/cmdline.d/custom.conf
Copy the following into the file:
# encrypted partition uuid, name, and options
rd.luks.name=2e708dd6-61e4-40ec-b30e-ca119d4467e5=cryptpart
rd.luks.options=discard,no-read-workqueue,no-write-workqueue

# root directory
root=/dev/os/root
rw
rootwait

# plymouth
quiet
splash
vt.global_cursor_default=0
fbcon=nodefer

# prevent launching privileged commands from the boot shell
rd.shell=0
rd.emergency=reboot
Temporary file system
We will now configure the generation of the boot temporary file system, a file that contains the Linux kernel and other boot utilities.
nano /etc/mkinitcpio.confTo use the TPM and early graphical boot, comment out the existing MODULES array, make a copy, and add tpm_tis and your GPU modules to it. In this case, i915 is the module for the integrated Intel GPU:
#MODULES=()
MODULES=(tpm_tis i915)

# ...
In the same file, make a copy of the HOOKS array and modify it in this way:
- replace the
baseandudevhooks withsystemd - move
keyboardaftersystemd - add
plymouthafterkms - replace
keymapandconsolefontwithsd-vconsole - add
sd-encryptandlvm2afterblock
The final result should look like this:
# ...

#HOOKS=(base udev autodetect microcode modconf kms keyboard keymap consolefont block filesystems fsck)
HOOKS=(systemd keyboard autodetect microcode modconf kms plymouth sd-vconsole block sd-encrypt lvm2 filesystems fsck)

# ...
Secure Boot
By default, most computers authorize only Microsoft’s signature, so that only the official Windows bootloader can be executed at boot.
Now, we will create and enroll our own keys as UEFI variables. We will then use the db key to sign our bootloader automatically every time it gets rebuilt.
Install these utilities and generate your Secure Boot keys:
pacman -S efibootmgr sbctl sbsigntools
sbctl create-keys
Check if the system has been booted into Setup Mode before enrolling your Secure Boot keys:
sbctl statusYou should see:
Installed:      ✓ sbctl is installed
Owner GUID:     ge708dd6-61e4-40ec-b30e-ca119d4467e5
Setup Mode:     ✓ Enabled
Secure Boot:    ✗ Disabled
Vendor Keys:    microsoft
Then, you can enroll your keys:
sbctl enroll-keys -mCreate a new hook at /etc/initcpio/post/sbsign that automatically signs the unified kernel image whenever mkinitcpio is run:
#!/usr/bin/env bash

uki="$3"
[[ -n "$uki" ]] || exit 0

key=/var/lib/sbctl/keys/db/db.key
cert=/var/lib/sbctl/keys/db/db.pem
if ! sbverify --cert "$cert" "$uki" &>/dev/null; then
 sbsign --key "$key" --cert "$cert" --output "$uki" "$uki" &>/dev/null
fi
Make the file executable:
chmod +x /etc/initcpio/post/sbsignRemove some unneeded sbctl hooks:
rm -f /usr/lib/initcpio/post/sbctl /usr/share/libalpm/hooks/zz-sbctl.hookPrevent pacman from restoring them by editing /etc/pacman.conf:
# ...

[options]
NoExtract    = usr/lib/initcpio/post/sbctl
NoExtract    = usr/share/libalpm/hooks/zz-sbctl.hook

# ...
Unified Kernel Image
Make a backup copy of /etc/mkinitcpio.d/linux.preset:
mv /etc/mkinitcpio.d/linux.preset /etc/mkinitcpio.d/linux.preset.bakThen, create a new .preset file:
nano /etc/mkinitcpio.d/linux.presetCopy the following into the file:
ALL_kver="/boot/vmlinuz-linux"
PRESETS=('default' 'fallback')

default_uki="/efi/arch.efi"
fallback_uki="/efi/arch-fallback.efi"
fallback_options="-S autodetect"
The fallback_uki option will create another unified kernel image with different settings, useful in case you have problems booting from the default file.
Now that we have everything in place, we can finally generate and sign the two unified kernel images:
mkinitcpio -PCheck that two files have been created inside the boot partition, and that they are signed with your Secure Boot key:
ls -la /efi
sbverify --cert /var/lib/sbctl/keys/db/db.pem /efi/arch.efi
sbverify --cert /var/lib/sbctl/keys/db/db.pem /efi/arch-fallback.efi
UEFI boot entries
To make the UEFI aware of these files, we need to create two boot entries for these UKIs:
efibootmgr \
 --create \
 --label "Arch Linux" \
 --index 0 \
 --disk /dev/nvme0n1 \
 --part 1 \
 --loader "\\arch.efi"

efibootmgr \
 --create \
 --label "Arch Linux Fallback" \
 --index 1 \
 --disk /dev/nvme0n1 \
 --part 1 \
 --loader "\\arch-fallback.efi"
TPM unlock
With the current setup, we would need to enter the LUKS decryption passphrase at every boot. We can use our laptop TPM to protect the LUKS encryption key, and retrieve it after we enter a PIN:
systemd-cryptenroll \
 --tpm2-device=auto \
 --tpm2-pcrs=0+1+5+7+8 \
 --tpm2-with-pin=true \
 /dev/nvme0n1p2
Why this PCRs combination?
The TPM will “take a snapshot” of the current state of the UEFI firmware, UEFI settings, partition table, secure boot keys, and kernel command line. If one of these change after the enrollment, the TPM will consider the environment “altered”, and will not prompt us for the PIN.
In this case, we will be prompted by Plymouth for our LUKS passphrase. We can always re-enroll the TPM after booting, if we trust that no one altered our PC while we were away.
You can check that a new entry has been created under the “Tokens” section of the LUKS header:
cryptsetup luksDump /dev/nvme0n1p2# ...
Tokens:
0: systemd-tpm2
tpm2-hash-pcrs: 0+1+5+7+8
tpm2-pcr-bank: sha256
tpm2-pubkey:
(null)
tpm2-pubkey-pcrs:
tpm2-primary-alg: ecc
tpm2-blob: 00 9e 00 20 3c cc 11 f3 44 33 0f 35 5e 37 f3 ee
# ...Starting from the next boot, the PIN prompt will look this:

Other configurations
Now that the boot process is done, we can finalize our installation with some desktop-specific features.
Audio
To make audio work out of the box, install PipeWire:
pacman -S pipewire pipewire-alsa pipewire-jack pipewire-pulse pipewire-v4l2 wireplumber alsa-utilsBluetooth
For Bluetooth connectivity, install Bluez:
pacman -S bluezFingerprint reader
If your laptop has a fingerprint sensor, consider following the excellent Fprint guide after you boot your laptop.
Printing
CUPS comes with a web interface to manage printers. To install it, run:
pacman -S cups cups-pdf
systemctl enable cups
Power-saving mode
To extend the battery duration, install TLP:
pacman -S tlp tlp-rdwThen, enable the default settings by running:
systemctl mask systemd-rfkill.service
systemctl mask systemd-rfkill.socket
systemctl enable NetworkManager-dispatcher
systemctl enable tlp
If you need a GUI to change them, I use slimbookbattery from the AUR.
Wi-Fi backend
By default, NetworkManager uses wpa_supplicant as its wireless network backend.
To use the newer iwd, create a custom configuration file:
nano /etc/NetworkManager/conf.d/custom.confCopy the following into the file:
[main]
rc-manager=resolvconf

[device]
wifi.backend=iwd
Start NetworkManager on each boot:
systemctl enable NetworkManagerGraphics card
To keep the guide straightforward, we only covered the example of a laptop with an integrated Intel GPU. However, there are a few configurations to change based on your GPU:
Intel-only
Install the user-space driver:pacman -S mesa mesa-demos mesa-utils vulkan-intel intel-media-driver intel-gpu-toolsNvidia-only
Install the Nvidia kernel driver:
pacman -S nvidia nvtopAppend to the kernel command line the following:
# ...

# nvidia gpu
nvidia_drm.modeset=1
nvidia_drm.fbdev=1
In your temporary file system configuration file, replace the Intel module with Nvidia modules:
MODULES=(tpm_tis i915)
MODULES=(tpm_tis nvidia nvidia_modeset nvidia_uvm nvidia_drm)
Create an update hook that will regenerate the UKI every time Nvidia drivers gets updated:
nano /usr/share/libalpm/hooks/nvidia.hookCopy the following into the file:
[Trigger]
Operation=Install
Operation=Upgrade
Operation=Remove
Type=Package
Target=nvidia
Target=usr/lib/modules/*/vmlinuz

[Action]
Description=Update NVIDIA module in initcpio
Depends=mkinitcpio
When=PostTransaction
NeedsTargets
Exec=/bin/sh -c 'while read -r trg; do case $trg in linux*) exit 0; esac; done; /usr/bin/mkinitcpio -P'
Regenerate the UKI:
mkinitcpio -PAMD-only
Install the user-space drivers:
pacman -S mesa mesa-vdpau libva-mesa-driver vulkan-radeon radeontopIn your temporary file system configuration file, remove the Intel module:
MODULES=(tpm_tis i915)
MODULES=(tpm_tis)
Regenerate the UKI:
mkinitcpio -PIntel + Nvidia laptop
Install both Intel user-space and Nvidia kernel drivers:pacman -S mesa mesa-demos mesa-utils vulkan-intel vulkan-mesa-layers intel-media-driver intel-gpu-tools nvidia nvidia-prime nvtopTo run apps using the dedicated GPU, prepend them with prime-run:
# should run on intel integrated card
glxgears

# should run on nvidia dedicated card
prime-run glxgears
Intel + AMD laptop
Install both Intel and AMD user-space drivers:pacman -S mesa mesa-demos mesa-utils vulkan-intel vulkan-mesa-layers intel-media-driver intel-gpu-tools libva-mesa-driver vulkan-radeon radeontopTo run apps using the dedicated GPU, prepend them with DRI_PRIME=1:
# should run on intel integrated card
glxgears

# should run on amd dedicated card
DRI_PRIME=1 glxgears
In case of issues, refer to the Graphics category in the Arch Wiki.
Reboot
You can finally reboot and test that everything works well.
To reboot, exit from the chroot and unmount all volumes and partitions.
exit
umount -a /mnt
vgchange -an "os"
cryptsetup luksClose /dev/mapper/cryptpart
shutdown
At the next boot, Plymouth will prompt you for your TPM PIN, followed by SDDM prompting you for your user password.
Once logged in, you can check that the setup mode of UEFI Secure Boot has been disabled:
sbctl statusInstalled: ✓ sbctl is installed
Owner GUID: ge708dd6-61e4-40ec-b30e-ca119d4467e5
Setup Mode: ✓ Disabled
Secure Boot: ✓ Enabled
Vendor Keys: microsoftIf it’s still enabled, remember to disable it from your UEFI settings.
Happy Arching!
